📺 Original Video: I tried KFC’s ORIGINAL Pressure Fryer Method | Guga Foods by Guga Foods
📅 Duration: 11:53
TL;DR
- The Colonel’s real edge was pressure frying, not just the spice blend
- Two minutes of searing at 350°F, then seven minutes sealed under high pressure, gives you ridiculously juicy chicken with a fluffy crust
- Wagyu beef fat replaces standard frying oil, and MSG goes in the spice rub without apology
- An overnight buttermilk marinade is the quiet hero of the whole recipe
- Pressure frying demolished cast iron in a blind comparison: better crust, better moisture, better everything
Quick Info
| Detail | Value |
| Dish | Pressure-Fried Chicken (KFC-style) |
| Servings | 8-10 pieces (2 whole chickens) |
| Prep Time | 30 min + overnight marinade |
| Cook Time | ~9 min per batch |
| Difficulty | Medium |
| Cost | Not specified |
Ingredients
For the chicken:
- 2 whole chickens, broken down into pieces
- Salt
- Buttermilk (enough to submerge all pieces)
For the spice rub:
- MSG
- KFC-style spice mix (Guga provides exact amounts in his video description)
For the seasoned flour:
- All-purpose flour
- Salt
- Granulated garlic
- Black pepper
- Smoked paprika
For frying:
- Wagyu beef fat
Instructions
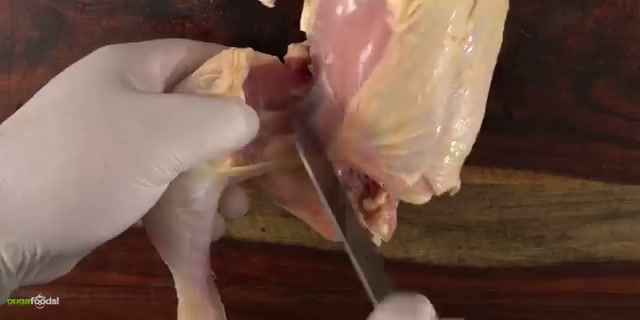
▶03:10 Step 1: Break down your chickens. Two whole birds, cut into individual pieces by hand. It’s cheaper than buying pre-cut and honestly not difficult once you’ve done it a couple of times.
▶03:41 Step 2: Salt each piece individually. One at a time. This ensures every piece gets proper coverage rather than ending up with some pieces over-salted and others bland.
▶03:56 Step 3: Apply the spice rub. Same method, one piece at a time. The standout ingredient is MSG, which Guga flatly calls “a requirement if you want to make your fried chicken better.” No debate, no disclaimer.
▶04:00 Step 4: Soak in buttermilk overnight. Submerge all the seasoned pieces and refrigerate. A full 24 hours is ideal. If that’s not possible, four hours minimum. This is where the meat goes from regular to noticeably tender, and the surface gets tacky enough for the flour to really grip.
▶04:11 Step 5: Season the flour. Mix all-purpose flour with salt, granulated garlic, black pepper, and smoked paprika. Seasoning both the meat and the flour is what separates home-cooked fried chicken from the kind worth talking about.
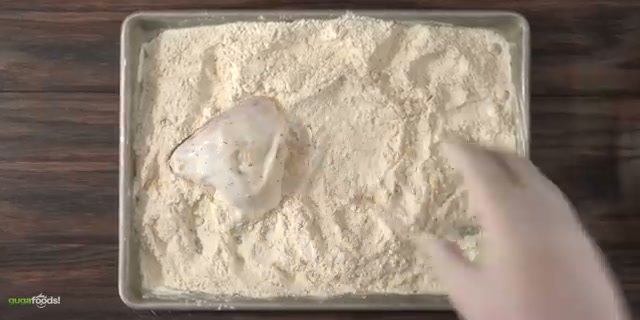
▶04:26 Step 6: Bread each piece by hand. Pull from the buttermilk, press into the seasoned flour. One piece at a time. You want thick, even coverage on every surface. After the overnight soak, the flour sticks beautifully.
▶06:50 Step 7: Sear at 350°F. Heat wagyu beef fat in a deep pressure cooker. Drop the breaded chicken in and fry for about 2 minutes until the exterior turns golden brown.
▶07:06 Step 8: Seal and pressure cook. Close the lid, bring to high pressure, then immediately lower the heat to the absolute minimum. Cook for exactly 7 minutes. Safety matters here. “You don’t want to over-pressure because you’re gonna have a bomb,” Guga warns. “No bombs allowed.”
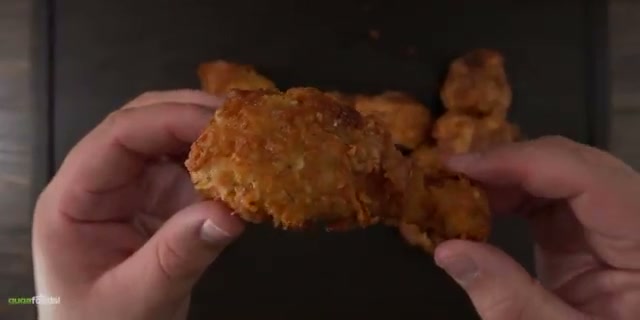
▶11:28 Step 9: Release and serve. Open the pressure cooker carefully. The chicken comes out uniformly golden with a crust that’s light and flaky rather than tough and crunchy.
The Verdict
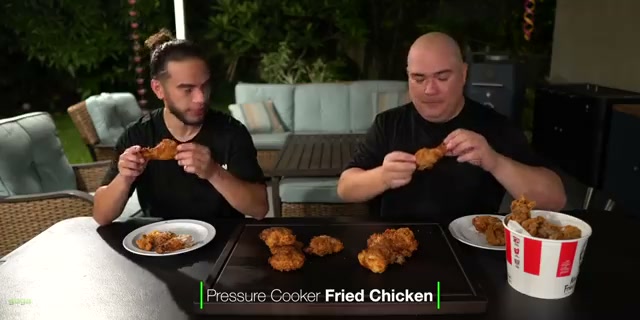
▶07:53 Guga set a proper benchmark by grabbing a fresh, hot KFC bucket before the taste test. His take on the original: “KFC is kind of consistent with the way their stuff tastes. They don’t really change. They know what’s going on. It’s always good.” Fair and honest.
▶09:17 Cast iron + oven version: Already better than KFC. The wagyu fat gives the crust a deeper, richer flavor, and the meat is softer and more tender. Angel is literally dripping juice down his hands. Guga’s philosophy: “I’m not trying to match it. I’m trying to make it better.“ Mission accomplished on the cast iron alone.
▶10:06 Pressure cooker version: You can tell the difference before you even taste it. The cast iron pieces have dark spots from contact with the hot pan. The pressure-fried pieces have even golden color all around, with what Angel calls a “fluffy crust” instead of a hard one.
▶10:41 Then came the bite. Guga said “night and day.” Angel’s review was three words on repeat: “That’s it, bro.” Then, after a pause: “You nailed it. You got the secret.” Both called it the best fried chicken they’d ever eaten. “Extremely tender, ridiculously juicy, the flavor is off the chain.” Pressure frying traps all the moisture inside the meat while the hot fat crisps the coating from every angle, and wagyu plus MSG push the flavor somewhere that vegetable oil and regular salt simply cannot go.
Tips & Variations
- Pick a tall, deep pressure cooker to give yourself a safety buffer against oil overflow
- The pressure valve on the lid is your indicator. The moment it signals high pressure, turn the heat all the way down. Don’t wait.
- MSG is not optional. Guga is direct about this and the results back him up. It fills in a flavor gap that extra salt alone can’t cover
- If wagyu fat isn’t in your budget, quality beef tallow is the closest substitute. Standard oil works but the crust won’t have that same richness
- Pressure frying is still common in Korean and Japanese fried chicken spots. The Colonel popularized it, but the technique has proven itself across cuisines for decades
- Butcher your own chickens. It saves money and you’ll get better, more consistent pieces than most pre-cut packs
We try hard to get the details right, but nobody’s perfect. Spot something off? Let us know